
Last updated October 30, 2026
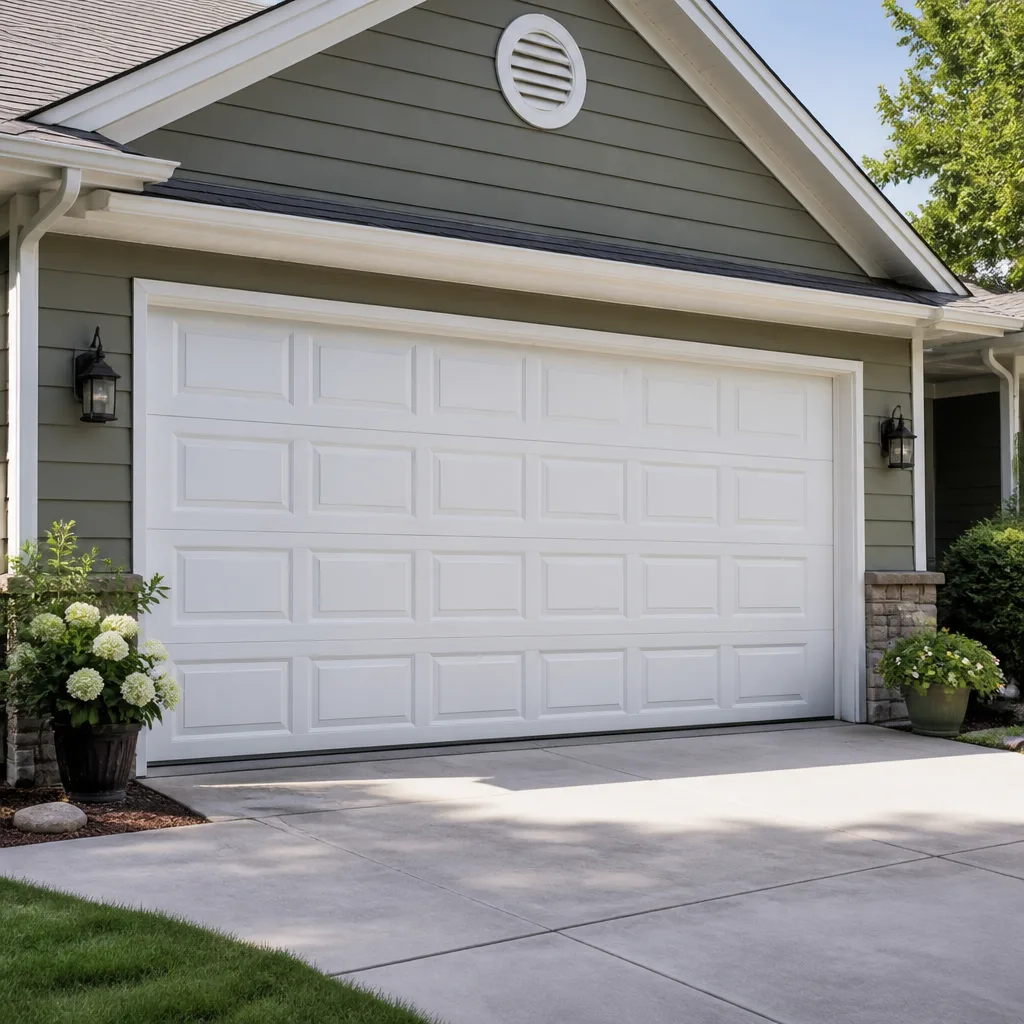 Raised-panel steel
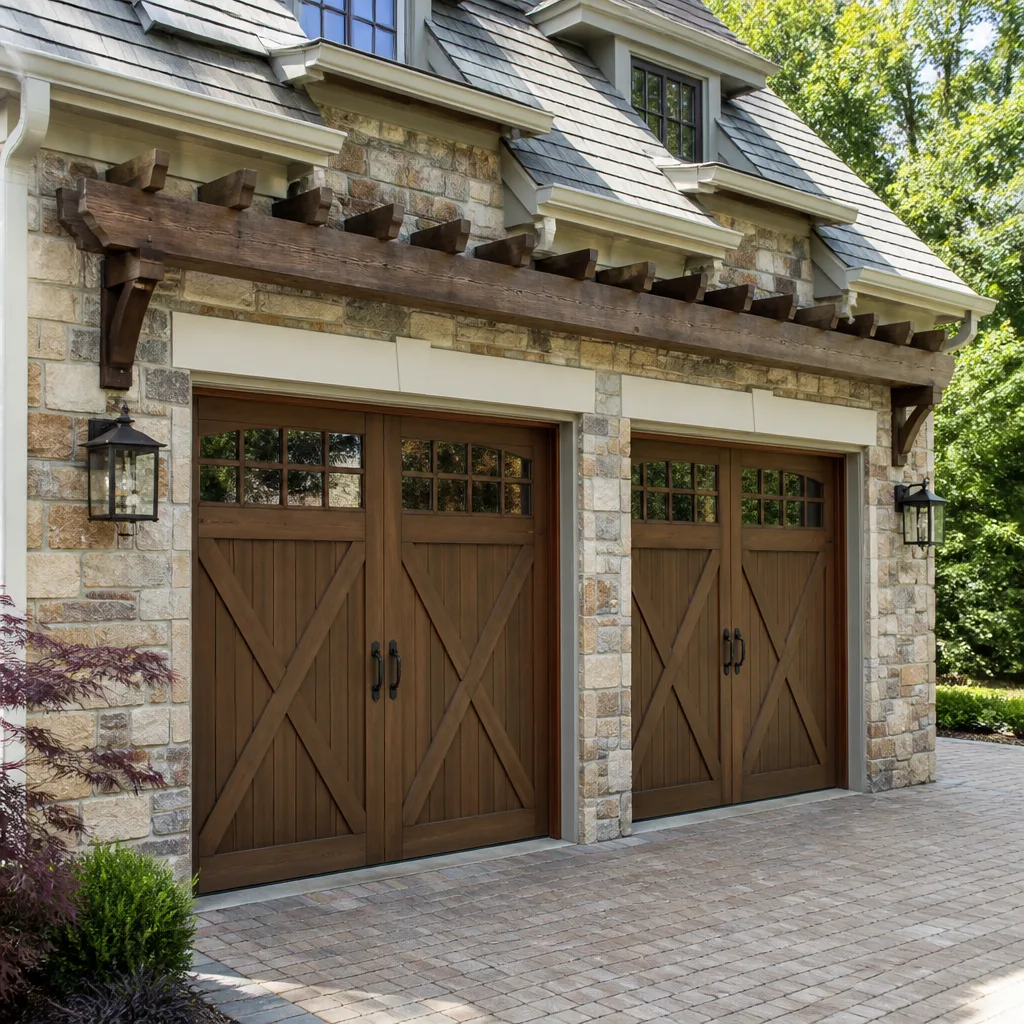 Carriage house
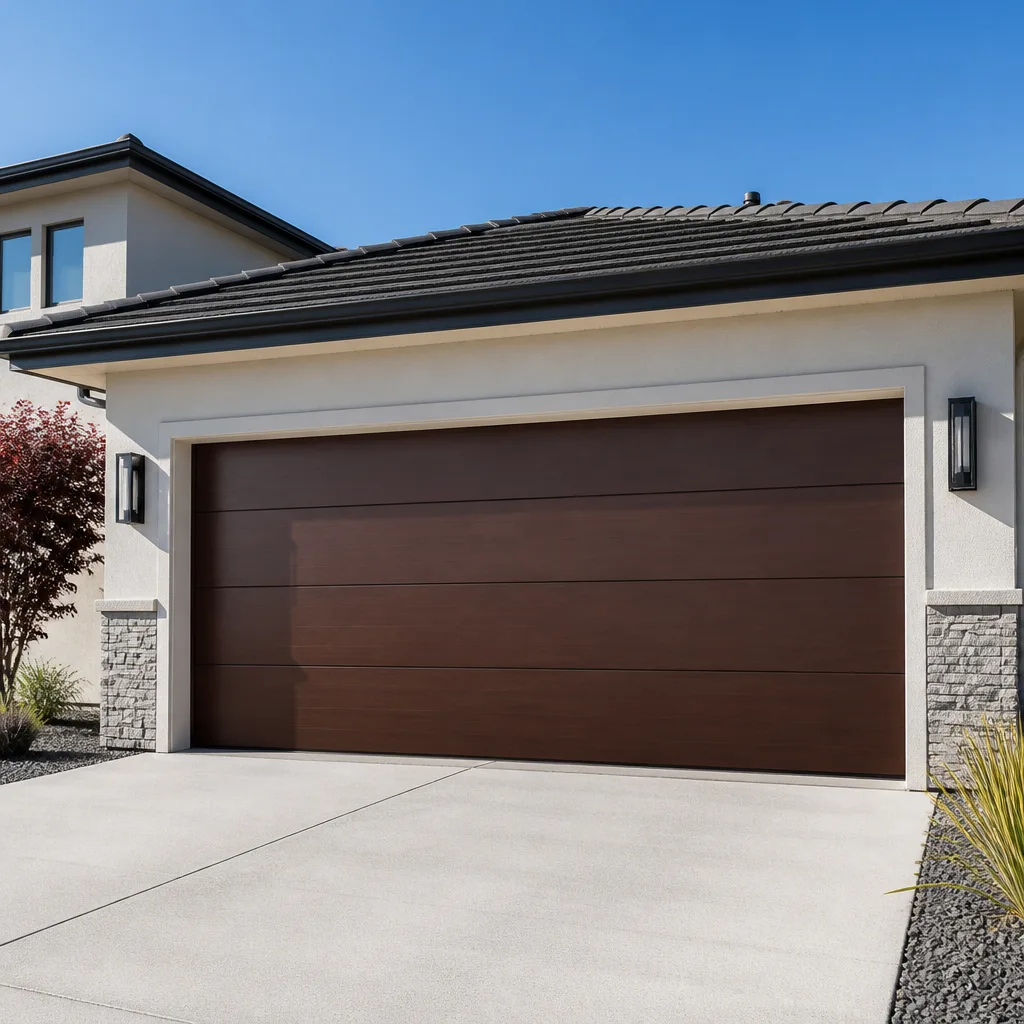 Modern flush
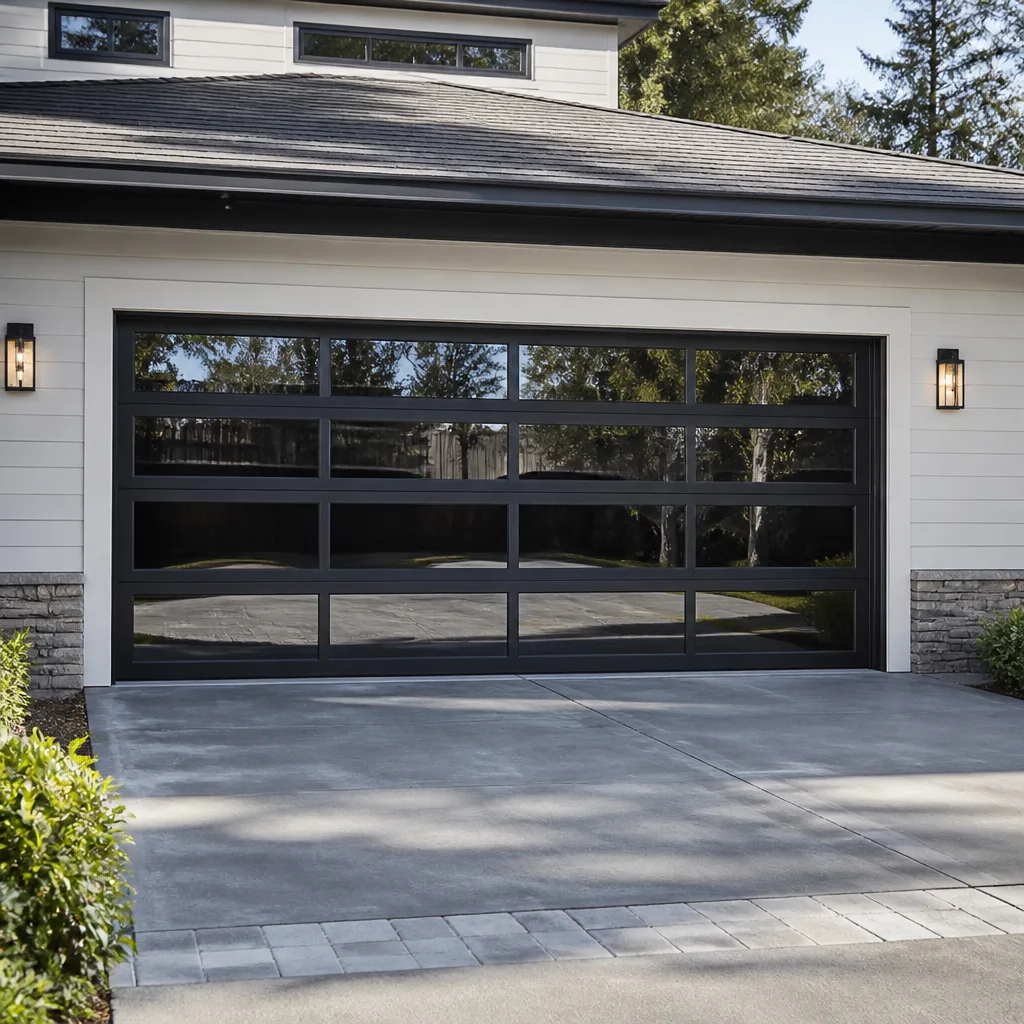 Full-view glass
 LiftMaster openers
 Chamberlain openers
Full 25-point door and opener safety check with every visit - springs, cables, rollers, tracks, and your LiftMaster or Chamberlain opener included
You get a price before we start. It does not change when the truck arrives.
Get your free estimateGarage Door Repair Troubleshooting: Common Problems and How to Fix Them
A garage door that reverses before hitting the floor and a garage door that reverses immediately after touching the floor look like the same problem. They’re not. The first usually points to a travel-limit setting or a failing logic board. The second almost always means the force sensitivity is set too low, the safety sensors are misaligned, or there’s an obstruction at the base of the track. Treating one as the other is how homeowners in Sarasota end up replacing a $400 opener when a 15-minute adjustment or quick our Garage Door Repair services visit would have solved it. This guide teaches you the diagnostic logic behind the symptom so you can match the behavior of your door to the exact component responsible, and know precisely when to stop and call a technician.
Quick Answer
Most garage door problems trace to one of four areas: the opener’s settings and logic board, the safety sensor system, the track and rollers, or the torsion spring and cable assembly. The fastest way to troubleshoot is to pull the manual release cord and operate the door by hand. A door that moves smoothly by hand but fails with the opener engaged is an opener problem. A door that is heavy, sticky, or unbalanced by hand points to mechanical failure in the springs, rollers, or track. If the door will not stay up on its own, the springs need professional attention immediately.
Styles & brands we work with
Table of Contents
- What the Noise Tells You: Grinding vs. Squealing vs. Popping
- Movement Patterns: Reverses, Stops Mid-Travel, or Won’t Start
- Sensor Misalignment vs. Logic Board Failure: A Flashlight Test
- Five Problems Homeowners Misdiagnose as Opener Issues
- Stop Points: When the Door Must Not Be Operated
- Brand-Specific Quirks: Chamberlain, LiftMaster, Genie, and More
- Sarasota-Specific Factors: Humidity, Salt Air, and Storm Season
- Common Mistakes to Avoid
- When to Call a Professional
- Frequently Asked Questions
What the Noise Tells You: Grinding vs. Squealing vs. Popping
Noise is the most underused diagnostic tool in garage door repair. Every component in the system makes a distinct sound when it fails, and learning to read those sounds saves you from swapping parts that are still good. We’ve trained our technicians to listen before they look, because in Sarasota’s older neighborhoods like Southside Village and Indian Beach, a door’s noise profile tells us more in ten seconds than ten minutes of visual inspection ever will.
Here’s the symptom-to-cause matrix we use on every service call:
- Grinding or metallic scraping: This points to the rollers, the roller brackets, or the track itself. On doors with nylon rollers, grinding means the ball bearings inside the roller have failed and the roller is now sliding metal-on-metal against the shaft. On steel-roller doors, it usually means the track is misaligned and the roller is scraping the track wall. In either case, continued operation will carve grooves into the track and progressively worsen the door’s balance.
- Squealing or high-pitched whine: This is almost always a dry bearing, a dry roller, or a dry opener drive. The fix is often as simple as lubricating the rollers, hinges, and the opener’s chain or screw drive with a silicone-based lubricant. Do not use WD-40. It’s a solvent, not a lubricant, and it will strip the protective coating from metal parts while leaving behind a residue that attracts dust.
- Popping or snapping during operation: This is the sound of a torsion spring beginning to fail. A torsion spring stores an enormous amount of tension, and when individual coils start to separate and snap, the door will still move, but the spring is actively degrading. A popping sound during operation means the spring is releasing tension unevenly. This is a stop-and-call situation. Torsion spring replacement is not a DIY job under any circumstances, and we’ll explain why further down.
- Thumping or banging when the door reaches the top or bottom: This is a travel-limit or force-limit issue. The opener is pushing the door too far, too hard, or both. Adjusting travel limits is a straightforward fix on most modern openers, but doing it wrong can cause the door to reverse mid-cycle or, worse, fail to reverse when it should.
One note specific to coastal environments: in Sarasota and the barrier islands like Siesta Key and Longboat Key, salt air accelerates corrosion on metal rollers and hinges. If your door sounds like it’s grinding more than it did last year, corrosion may be the underlying cause, and the repair path is replacement of the affected hardware rather than lubrication.
Movement Patterns: Reverses, Stops Mid-Travel, or Won’t Start
The way a door fails tells you where the failure lives. This is the decision-tree approach that separates accurate diagnosis from guessing. The question to ask is not “what’s wrong with my door” but “what is the door doing that it shouldn’t.” The answer narrows the possibilities down to one or two components.
- The door reverses before it reaches the floor, with nothing visible in the way. Two likely causes. The first is the safety sensor system: if the sensors lose alignment or their lenses get dirty, the opener interprets it as an obstruction and reverses the door. The second is a force-sensitivity setting that’s too low, which makes the opener think the door has hit something when it’s actually just encountering normal resistance. Distinguish between them by watching the sensor lights: if one or both LEDs are blinking, it’s a sensor issue. If both are solid, it’s likely a force setting.
- The door reverses immediately after touching the floor, as if it bounced. This is a classic travel-limit problem. The opener is programmed to travel farther than the floor allows, so it hits the ground, registers excess resistance, and reverses. The fix is a travel-limit adjustment, typically a small dial or a digital setting on the opener unit itself.
- The door stops mid-travel and will not continue in either direction. This is nearly always a mechanical failure, not an opener failure. The usual culprit is a broken torsion spring, a snapped cable, or a roller that has jumped the track. When any of these happen, the opener’s motor continues to run, but the door can’t move because the lifting force is gone. Pull the release cord and try to lift the door manually. If it’s extremely heavy or won’t move, you’ve confirmed a spring or cable failure.
- The door will not start at all. No sound from the opener. Before anything else, check the obvious: is the opener plugged in, is the breaker tripped, and is the wall button or remote sending a signal. If all three check out, the logic board or the motor capacitor has failed. Logic board failures are increasingly common in smart openers, especially those that have been exposed to power surges during Sarasota’s summer thunderstorm season.
- The door will not start, but there is a humming or buzzing sound. A humming opener that won’t move the door usually means the motor capacitor has failed or the gear assembly inside the opener has stripped. The motor is trying to engage but can’t complete the mechanical connection. This is fixable, but it’s opener-internal work that most homeowners shouldn’t attempt.
The order of operations matters. Before you assume the opener is dead, always pull the release cord and test the door manually. We’ll cover this more in the next section, but the principle is simple: isolate the door from the opener and test each half independently.
Sensor Misalignment vs. Logic Board Failure: A Flashlight Test
The safety sensors at the bottom of your door track are responsible for preventing the door from closing on a person, pet, or object. When they malfunction, the symptom is usually a door that reverses before reaching the floor or refuses to close at all. The challenge is that a failing logic board produces nearly identical symptoms. Telling them apart requires nothing more than a flashlight and thirty seconds.
Here’s the step-by-step:
- Locate both sensors. They’re mounted on the track, roughly six inches above the floor, one on each side. Each sensor has an LED: one is typically green (the sending eye) and one is typically amber or red (the receiving eye).
- Check the LEDs. If both lights are solid and bright, the sensors are aligned and powered. If one or both are blinking, dimming, or dark, you’ve found a sensor problem: misalignment, a dirty lens, a wiring fault, or a sun-interference issue.
- The flashlight test for logic board failure. With the sensor LEDs both solid, press the wall button to close the door. Watch the opener’s main LED or digital display as the door begins to move. On most modern openers, if the logic board is failing, the opener’s diagnostic light will flash a specific pattern while the door reverses. If the opener light is solid but the door reverses anyway, the problem is usually sensor-related even if the sensor LEDs looked fine moments earlier.
- Block the sensor path intentionally. Wave your hand between the two sensors while the door is closing. A healthy opener will immediately reverse. If it does not, the sensor system is not communicating with the logic board, and you have an opener-internal problem, not a sensor problem.
One Sarasota-specific factor worth knowing: late-afternoon sun in west-facing garages can overwhelm older sensor models, especially on homes in Palmer Ranch or Gulf Gate where garages face the Gulf sun. The infrared beam in the receiving sensor gets flooded by direct sunlight and the sensor simply stops reading. If your door consistently refuses to close in the late afternoon but works fine in the morning, sun interference is a serious candidate. The fix is usually a sun shield over the receiver or repositioning the sensors slightly. Newer sensors with pulse modulation handle sun interference much better than their older counterparts.
If your door passes all sensor tests but still reverses, and the opener is more than ten years old, the logic board is the prime suspect. Logic board failures present inconsistently at first – they work sometimes, fail other times – which is why they’re so frustrating to homeowners. A board that fails intermittently is not going to heal itself, and the problem will become permanent, usually at the worst possible moment.
Five Problems Homeowners Misdiagnose as Opener Issues
This is the section that saves homeowners the most money. Every week in Sarasota, we get calls from people who are certain their garage door opener has failed, when in fact the opener is fine and the problem lives in the mechanical system. Replacing a healthy opener doesn’t fix a broken spring, and the new opener will fail prematurely because it’s being asked to lift a door that’s no longer balanced.
Here are the five most common misdiagnoses, in order of frequency:
- A broken torsion spring. The opener motor strains, the door barely moves, and the homeowner assumes the opener is underpowered or dying. In reality, the opener is working perfectly – it’s just trying to lift a 200-pound door with the counterbalance force gone. The tell: pull the release cord and try to lift the door by hand. A door with a broken spring is extremely heavy and will not stay open on its own. Call a professional immediately. Never attempt to operate a door with a visible spring break.
- A snapped lifting cable. The cable running alongside the door acts as a safety backup and lifting partner to the spring system. When it snaps, the door often lifts unevenly or gets stuck at an angle. Because the opener is the visible component, it takes the blame. The tell: look at both sides of the door. A snapped cable will leave one side hanging with slack wiring visible near the bottom bracket.
- Worn rollers or a misaligned track. The door grinds, shudders, or stalls partway up, and the homeowner faults the opener’s motor. The real cause is mechanical resistance from rollers with shot bearings or a track that’s been knocked out of alignment. The tell: operate the door manually. If it’s rough, sticky, or noisy when moved by hand, the problem is not the opener. We service doors from every major brand, and a garage door repair in Sarasota call usually gets the track and rollers sorted without touching the opener at all.
- A worn drive gear inside the opener. This one is opener-internal, but it’s not a motor failure. The gear that transfers motor rotation to the drive chain or belt is often made of plastic and strips over time. The symptom is a humming opener with a door that doesn’t move. The fix is a gear replacement, which is significantly cheaper than a new opener. Most general repair companies don’t stock these gears; we do, because we work on LiftMaster, Chamberlain, Genie, Craftsman, and the other brands we’re certified for rather than steering you toward whatever unit happens to be easiest to sell.
- Remote or keypad programming loss. The door works fine from the wall button but the remote stopped working. Homeowners assume the opener is failing. In reality, the opener’s receiver may have lost its programming, the remote’s battery is dead, or a new neighboring device is interfering with the signal. The tell: if the wall button works, the opener’s motor and logic board are almost certainly fine. Reprogramming is a five-minute job on most units.
The unifying theme: test the door manually before blaming the opener. It’s the single highest-value diagnostic step you can take, and it takes less than a minute.
Stop Points: When the Door Must Not Be Operated
Some garage door problems are inconvenient. Others are dangerous. Knowing the difference is the most important knowledge in this guide.
The torsion spring system on a residential garage door is wound under enough tension to lift several hundred pounds. When a spring fails under that tension, the release of energy is violent. If you’re standing near the spring when it lets go, the result can be severe injury. This is not a warning we give lightly, and it’s not an exaggeration.
Here are the stop points: specific conditions that mean the door should not be operated, full stop, until a technician arrives.
- A visibly broken torsion spring. Look at the spring mounted above the door opening. If you see a gap in the coils or two distinct halves where one continuous spring used to be, the spring has failed. Do not attempt to open or close the door. Do not pull the release cord. Call for service.
- A snapped or frayed lifting cable. If the cable on either side of the door appears slack, frayed, or disconnected from the bottom bracket, the door is no longer safely supported during operation. Operating the door in this condition can cause it to fall unexpectedly.
- The door is stuck in the open position and will not move manually even with the release cord pulled. This means the spring system is no longer providing counterbalance, and the full weight of the door is suspended. Do not attempt to force it down. A door in this state can come down all at once.
- You hear loud popping or snapping sounds during operation. As covered earlier, this is a torsion spring failing in stages. Each pop is a coil releasing tension. Stop using the door immediately.
- The door has come off its track and is hanging at an angle. The door’s weight is no longer distributed across the track system. Attempting to move it risks the door falling completely.
In any of these situations, the right move is to leave the door where it is, keep people and pets away from the garage interior, and call a professional. Our team handles emergency door failures across Sarasota, and we arrive prepared to replace springs, cables, and track hardware on site. For non-emergency planning, see How to Hire a Garage Door Contractor in Sarasota: A Step-by-Step Guide. The brands don’t matter in these situations – a broken spring on a Wayne Dalton door and a broken spring on a Raynor door both require the same core repair: proper spring replacement with the correct torsion rating for the door’s weight and size.
Brand-Specific Quirks: Chamberlain, LiftMaster, Genie, and More
One of the advantages of working across eight major brands – LiftMaster, Chamberlain, Genie, Clopay, Amarr, Wayne Dalton, Craftsman, and Raynor – is that we’ve seen how each manufacturer approaches diagnostics differently. If you learn your opener’s diagnostic language, troubleshooting gets faster.
Chamberlain and LiftMaster (same parent company, similar diagnostic logic) use arrow-shaped diagnostic LEDs on the opener unit. A single up arrow flash means the door is moving, but a diagnostic pattern of flashing up and down arrows corresponds to a numbered error code, usually between 1 and 11. Common ones: error code 1-1 means the safety sensors are not communicating, 1-5 means the motor overheated, and 4-6 means the door has jammed. The full error code chart is on Chamberlain’s site, but the key is that both the number of flashes and the direction of the arrows matter. These codes are also visible in the MyQ app when you have a smart-enabled unit.
Genie uses a different system entirely. Older Genie openers have a red diagnostic LED with a blink-count pattern. Newer models use a round LED that changes color: green for normal, red for an error, and the blink sequence identifies the fault. Genie’s Aladdin Connect app provides text-based error messages for Wi-Fi-enabled units, which is genuinely helpful for remote diagnosis.
Craftsman openers, because they source from multiple manufacturers over the years, have the least consistent diagnostic language. A Craftsman unit from 2005 and a Craftsman unit from 2018 may have entirely different error code systems. Our approach with Craftsman is to identify the underlying manufacturer of the specific unit first, then apply the correct diagnostic framework.
Wayne Dalton and Raynor are door manufacturers rather than opener manufacturers in most cases, though both have produced openers in the past. The relevant diagnostic point for these brands is that their door hardware, particularly the TorqueMaster spring system on some Wayne Dalton models, has quirks that standard torsion spring tools don’t address. If you have a Wayne Dalton TorqueMaster system, know that it uses an internal spring inside a tube rather than an exposed torsion spring, and the service procedure is different.
The practical takeaway: when your opener flashes an error code, write down the pattern before you call for help. The number of flashes, the color, and the direction of arrows (where applicable) give your technician a head start. This is exactly the kind of detail that separates a quick fix from a guess-and-check service call.
Sarasota-Specific Factors: Humidity, Salt Air, and Storm Season
Garage doors in Sarasota do not age the same way garage doors in Arizona or Chicago age. The climate here is a full participant in every failure mode, and ignoring it leads to repeated repairs that could have been prevented.
Humidity is the first factor. Sarasota’s average relative humidity runs between 70 and 80 percent for most of the year. Metal components rust. Lubricants break down faster. Electronics corrode. Hinges, rollers, and track hardware on homes in bayside neighborhoods like Whitfield and Saint Armands are exposed to a combination of moisture and salt that accelerates deterioration measurably compared to inland homes. We replace rusted hinges and corroded track hardware more frequently in these coastal zones than anywhere else in the market.
Salt air is the second factor. The barrier islands – Siesta Key, Longboat Key, Casey Key – see garage door hardware degrade at roughly twice the rate of inland Sarasota. The salt in the air settles on metal surfaces, combines with condensation, and creates a corrosion environment that eats through standard galvanized hardware. For doors in these zones, we recommend stainless steel or coated hardware at every repair point, and we recommend annual lubrication with a corrosion-inhibiting lubricant rather than standard silicone.
Storm season is the third factor. From June through November, Sarasota deals with afternoon thunderstorms that bring two problems: lightning and power surges. We see a measurable spike in garage door opener logic board failures and capacitor failures in the weeks following storm events. Whole-home surge protectors help, and they’re especially worth considering if you have a smart opener with Wi-Fi connectivity, because those boards are more sensitive than the older relay-style boards. The second storm-related issue is wind-pressure damage: the reinforced center of a garage door is designed to flex under wind load, but sustained hurricane-force winds can bow a door and knock its track out of alignment. After a serious storm passes, it’s worth operating your door once just to confirm it’s tracking cleanly.
If you’re troubleshooting a door that worked fine before a storm and won’t work correctly after, check your breaker and look for a tripped GFCI outlet first. Many garages have GFCIs that trip during lightning events, and a tripped outlet presents exactly like a dead opener.
Common Mistakes to Avoid
- Lubricating the wrong parts. Lubrication belongs on rollers, hinges, and the opener’s drive mechanism. It does not belong on the track. Lubricating the track attracts dust and creates a sticky film that makes the rollers work harder. If you’ve been spraying the track rails for years, clean them with a dry cloth and re-apply lubricant only to the roller bearings and hinge pins.
- Using WD-40 as a garage door lubricant. WD-40 is a solvent. It cuts through grease and leaves a thin residue that evaporates within days. A proper silicone or lithium-based garage door lubricant lasts months and actually reduces friction. This is the single most common maintenance mistake we see in Sarasota garages.
- Adjusting the torsion spring without proper training and tools. This mistake sends people to the emergency room. Torsion springs are under enormous tension, and the winding bars required to adjust them are not the same as a pry bar or a screwdriver. A spring that unwinds while you’re working on it strikes with enough force to break bones. Never attempt spring adjustment. Ever.
- Replacing the opener before checking the door’s balance. A door that’s out of balance wears out an opener quickly. If you replace the opener without addressing the underlying spring tension problem, you’ll be replacing the opener again in a few years. Test balance by pulling the release cord and lifting the door halfway; if it stays put, it’s balanced. If it drops or springs upward, the springs need attention before any opener work.
- Ignoring early warning signs until the door fails completely. A grinding roller, a sticking hinge, or a popping spring never fixes itself. Small mechanical issues compound. The homeowner who addresses a squeaky roller with a $5 replacement saves a $250 track replacement six months later. Homes throughout Sarasota, from Lakewood Ranch to the older sections of Gillespie Park, all follow the same pattern: neglect is expensive.
- DIYing a smart-home opener installation without checking compatibility first. Not every smart opener works with every Wi-Fi protocol and home automation platform. If you’re adding a MyQ-enabled LiftMaster or a Genie Aladdin Connect unit to an existing smart home setup, verify compatibility before you buy. A unit that doesn’t work with your platform is a return trip and a restocking fee.
When to Call a Professional
Here’s the honest summary: most garage door problems fall into one of two categories – opener issues and mechanical system issues. Opener issues like travel-limit adjustments, sensor realignment, and remote reprogramming are sometimes DIY-friendly if you’re comfortable following instructions. Mechanical system issues – torsion springs, lifting cables, track alignment, and door balance – are not. The failure mode for a mechanical problem is not “the door stops working.” The failure mode is “the door falls.” The stakes are different.
Call a professional when: the torsion spring is visibly broken or popping, a cable has snapped or frayed, the door is off its track, the door will not hold its own weight when pulled manually, or you’ve done basic troubleshooting and the door still won’t operate correctly. Platinum Garage Door Service offers free estimates across Sarasota for all repair concerns – call (855) 341-5769 and we’ll diagnose the issue accurately, repair what’s repairable, and recommend replacement only when it’s genuinely the right call.
Frequently Asked Questions
Your garage door reverses before hitting the floor because the safety sensors are misaligned or dirty, or because the force-sensitivity setting on the opener is set too low. Check the sensor LEDs first: if either one is blinking or dark, that’s your problem. If both are solid, the issue is likely the force setting. In Sarasota, west-facing garages with harsh afternoon sun can also trigger false sensor readings, which a sun shield usually solves.
A broken torsion spring leaves the door extremely heavy when you try to lift it by hand, and the door will not stay up on its own. Visually, look above the door opening: a broken spring will have a visible gap in the coils instead of one continuous spiral. If you see that gap, stop using the door and call a technician. Spring failure is not a DIY repair, and the energy stored in even a partially wound spring is enough to cause serious injury.
You can replace a garage door opener yourself if you’re experienced with electrical wiring and comfortable working at ladder height, but most homeowners in Sarasota choose to have it done professionally because the job involves more than swapping a unit. The opener must be set for the correct travel limits and force sensitivity, the safety sensors must be aligned and tested for compliance, and the door’s balance should be checked before the new unit takes on the load. An improperly installed opener is a safety hazard. Our opener repair and installation service handles the full job, including proper calibration and testing.
Garage door repair costs in the Sarasota area typically range from $125 to $350 for most mechanical fixes, with spring replacement running $280 to $450 depending on the spring type and door weight, and opener replacement running $350 to $800 including the unit. Every project is different, so we provide an exact quote after diagnosis, always before any work begins. Call (855) 341-5769 for a free estimate – there’s no charge for the diagnostic visit, and you’ll know your price before we touch a single component.
If your garage door opener works from the wall button but not the remote, the problem is almost always a programming or signal issue, not a mechanical or motor failure. Start with the remote’s battery, then try reprogramming the remote to the opener. If that doesn’t work, the opener’s receiver may have failed or a nearby device may be interfering with the signal. This is one of the most common opener issues we diagnose, and it’s usually resolved without any parts replacement at all.
The best garage door opener for a Sarasota home is a belt-drive unit with a DC motor, smart-home connectivity, and a battery backup. Belt drives are significantly quieter than chain drives, which matters in attached garages, and the DC motor provides softer starts and stops that extend the life of the door’s springs and rollers. A battery backup matters during hurricane-season power outages, and smart-home connectivity – whether that’s LiftMaster’s MyQ, Chamberlain’s app, or Genie’s Aladdin Connect – lets you check whether your door is closed from anywhere. We install and service all of those platforms. If you’re considering a new opener, our installation service in Sarasota includes a compatibility check with your existing door and recommendations based on your specific setup.
The Bottom Line
Garage door troubleshooting is a decision-tree discipline. The noise tells you which component is failing. The movement pattern tells you whether the problem is opener-side or mechanical. The manual release test separates the opener from the door and identifies which half of the system owns the fault. Most of the time, the problem is smaller than it seems – a dirty sensor, a dry roller, a travel-limit adjustment. When it’s bigger – a broken spring, a snapped cable – it’s not a job for a homeowner, and pushing through anyway is how bad situations turn worse. We work on your brand, not just ours, and our approach is repair first, replace only when necessary. If you’ve read this far and your door still isn’t cooperating, Platinum Garage Door Service is one call away in Sarasota.
Written by the team at Platinum Garage Door Service, serving Sarasota since 2015. Explore more guides & resources on our blog.
See the difference
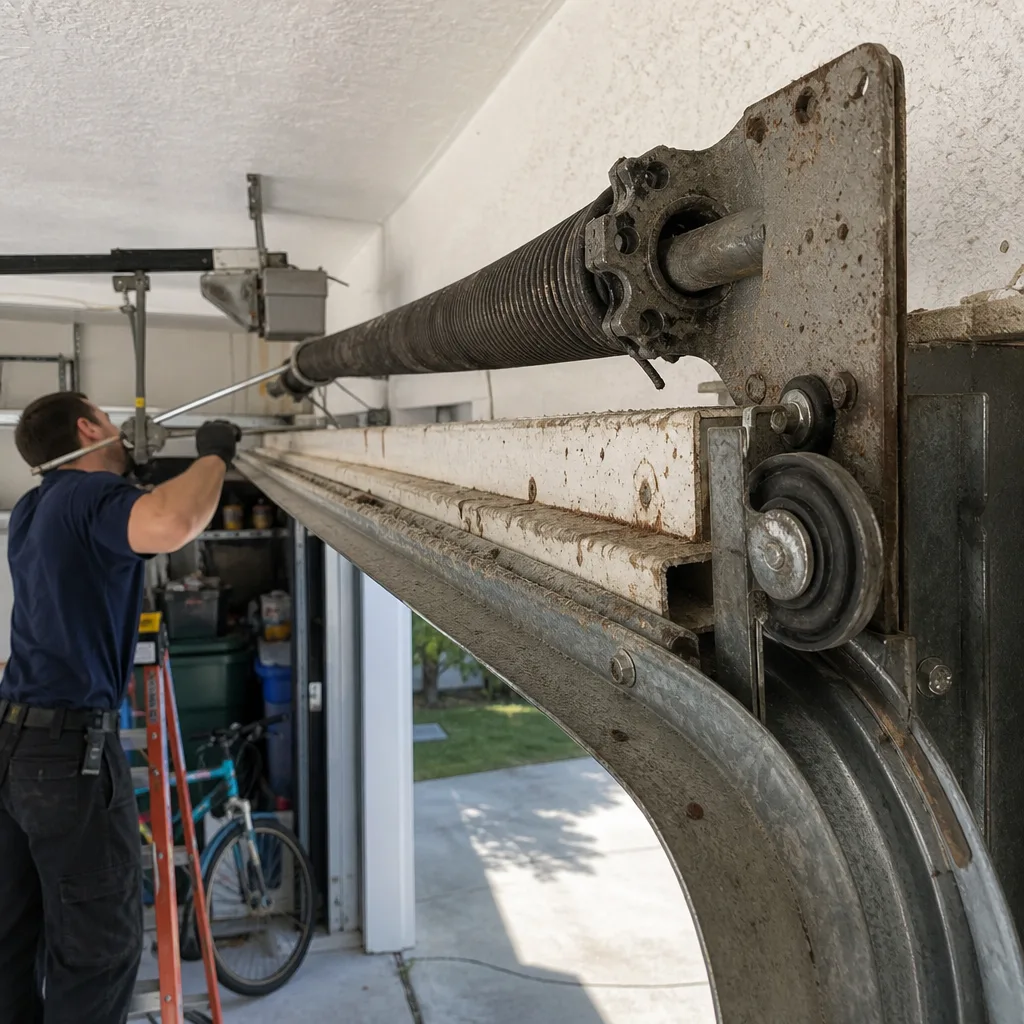 Before
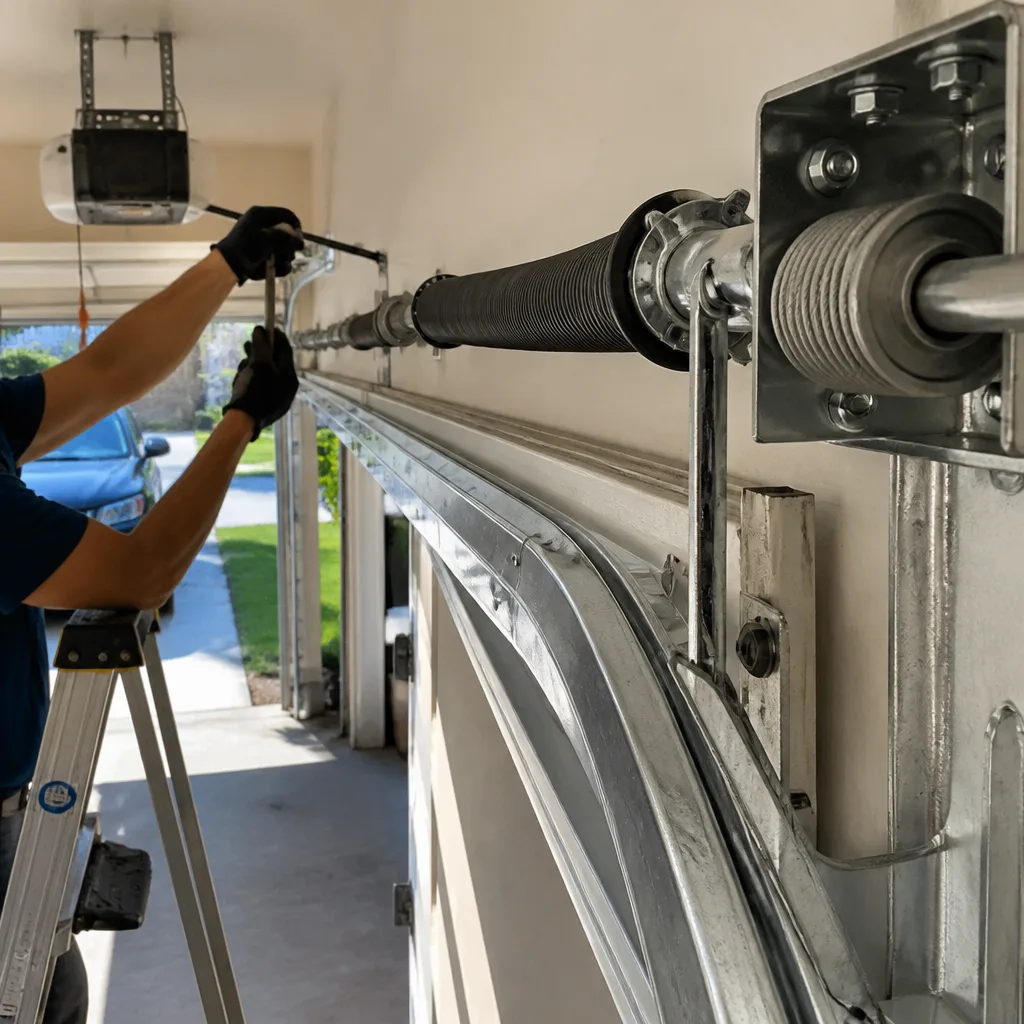 After
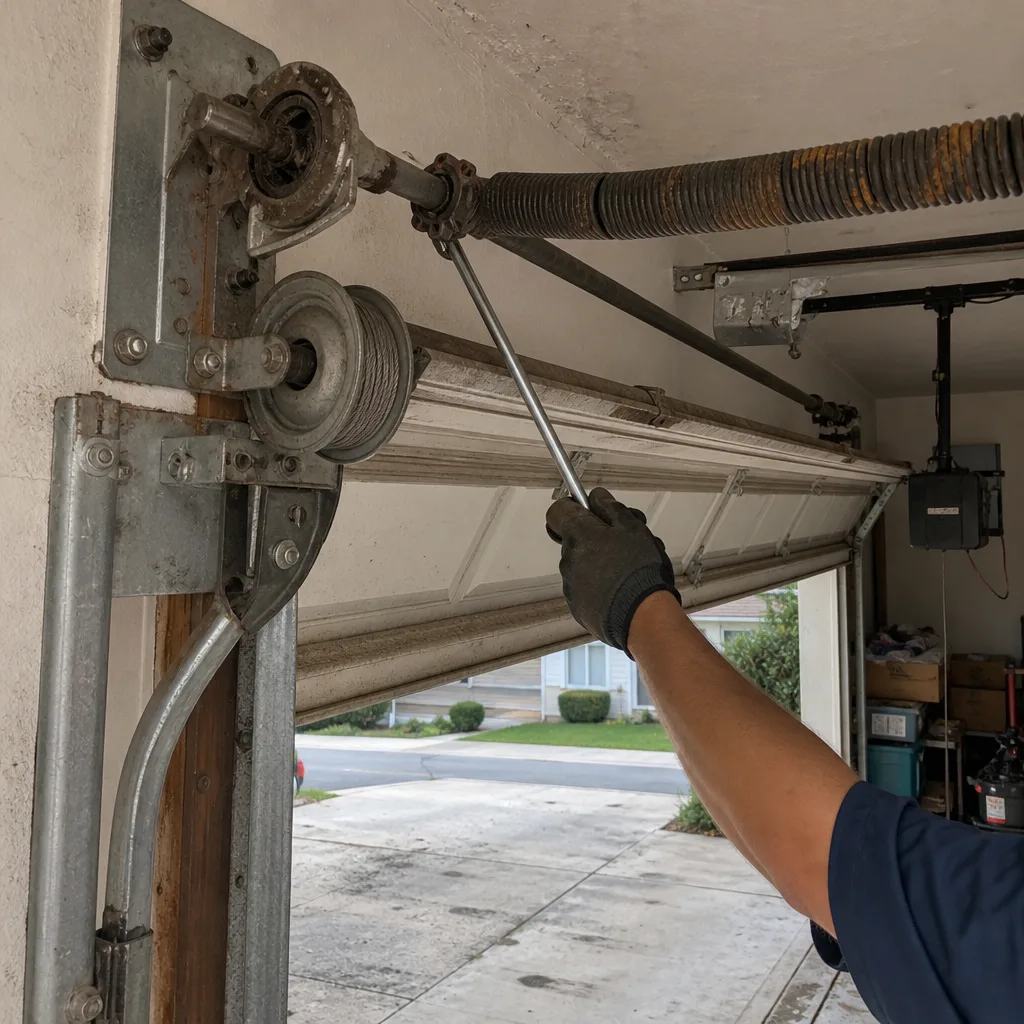 Before
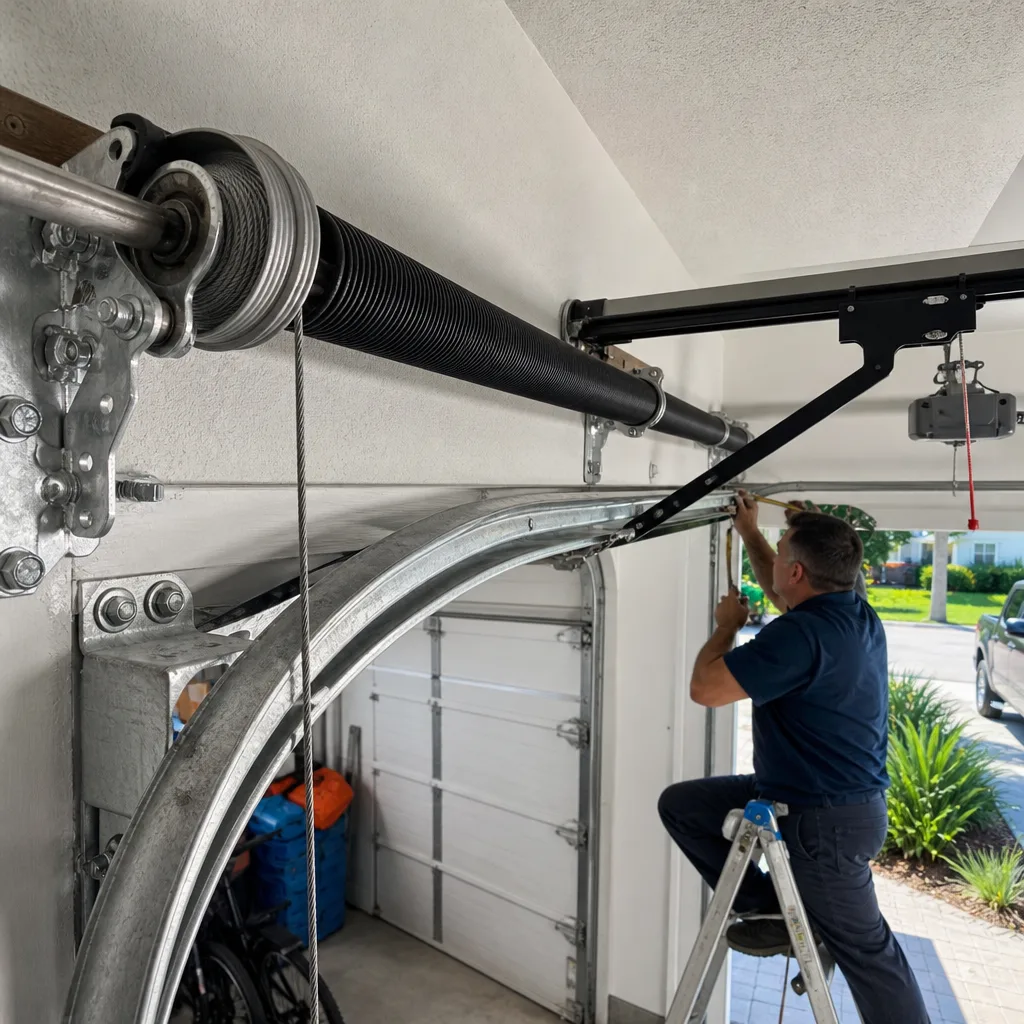 After
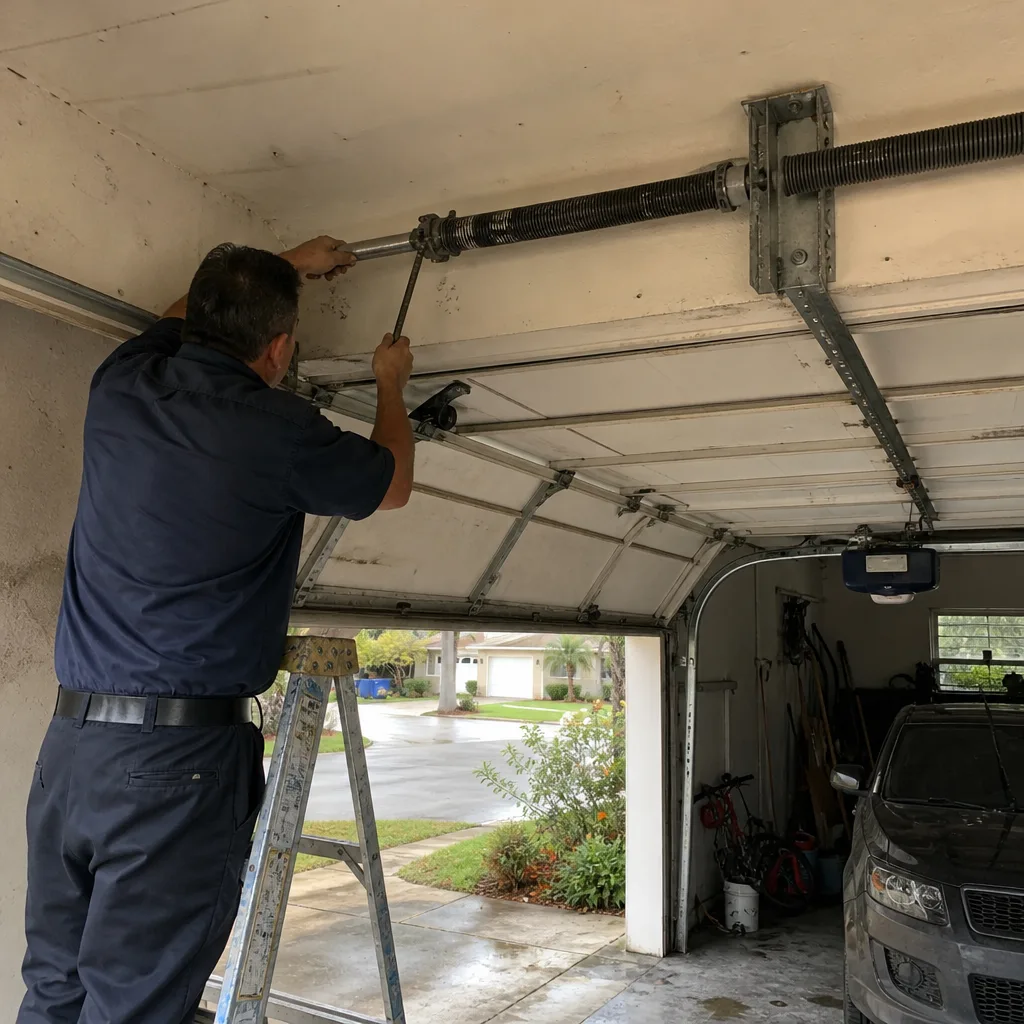 Before
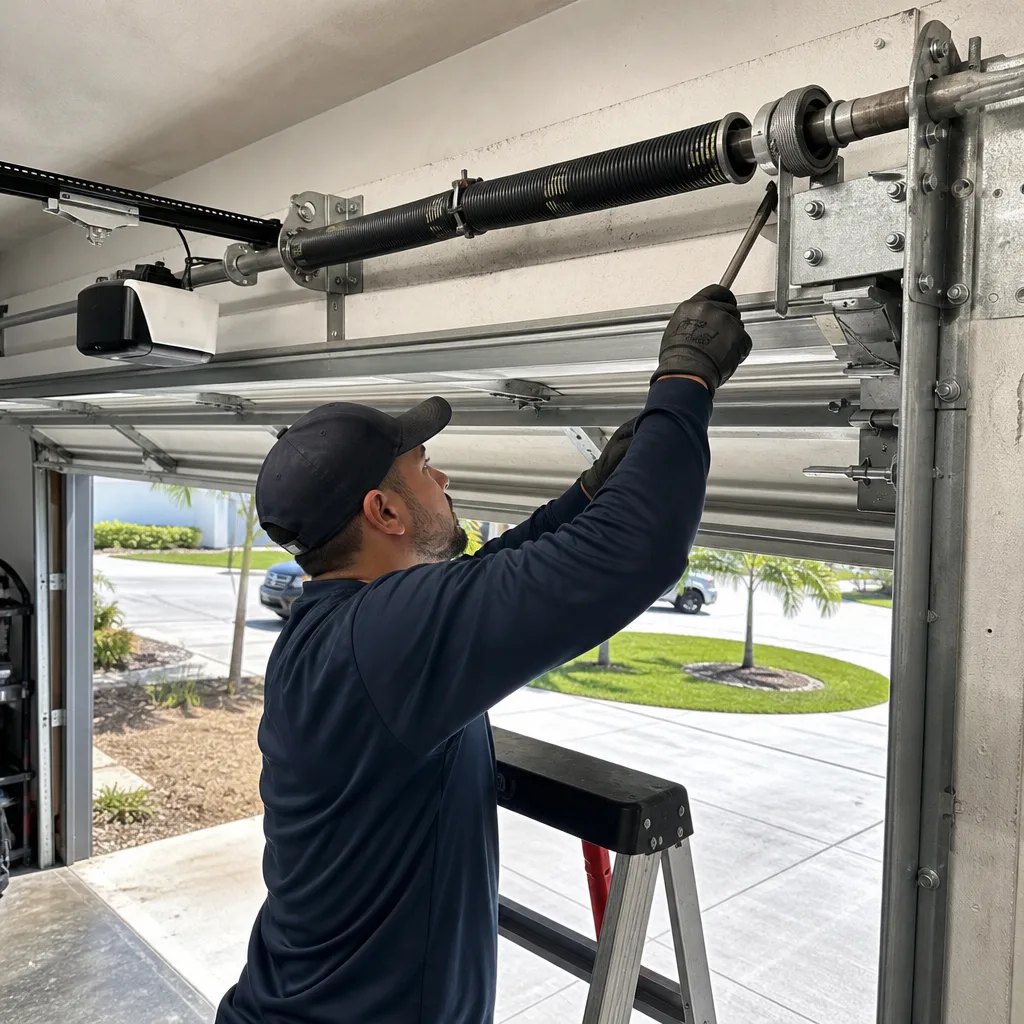 After